Adding Xola buttons to your Wix website is a simple way to let your customers book experiences directly from your site, without needing to leave the page or open a new tab. In this guide, we’ll walk you through the step-by-step process to install Xola’s checkout buttons on any Wix page, helping you create a smooth and integrated booking experience for your visitors.
User Access: Administrator or Marketer roles have access to set up and manage Buttons in Xola.
To grant access to users, click here.
What's covered in this article:
Add the Xola JavaScript Code to Wix
To get started, you’ll need to add Xola’s global JavaScript to your Wix site’s header. This ensures your buttons will work properly when clicked.
-
Log into your Wix account.
-
Navigate to Settings > Custom Code.

-
Click Add New Custom Code.

Locate the Xola Checkout JavaScript
Now, let’s grab the code from your Xola account:
- Log into your Xola account.
- Go to Settings > Button Code.
- Under Step 1, use the
 icon to copy the JavaScript code.

- Paste this code into the Custom Code section in Wix as instructed in Step 1. This will allow the checkout buttons to function correctly on your live site without opening in a new tab or window.
- The screenshots below show how to properly add Xola Checkout JavaScript into the Wix Custom Code settings.


Note: If your website uses dynamic pages (where only a portion of the content updates while navigating, rather than fully loading a new page), you may notice that the Xola iframe loads only after a page refresh instead of automatically. To ensure the iframe displays correctly on every navigation, you’ll need to set up an additional custom code in your Wix settings to re-initialize Xola each time a page changes. Simply follow the steps above and use the code provided below—this will ensure the iframe operates as expected across your site.
Add a Button to Your Wix Page
Next, it’s time to place a button on the page where you want your Xola checkout to appear:
- From your Wix Dashboard, click Site & App.
- In the top right corner, click Edit Site to open the site editor.
- Navigate to the page where you want to add the button.
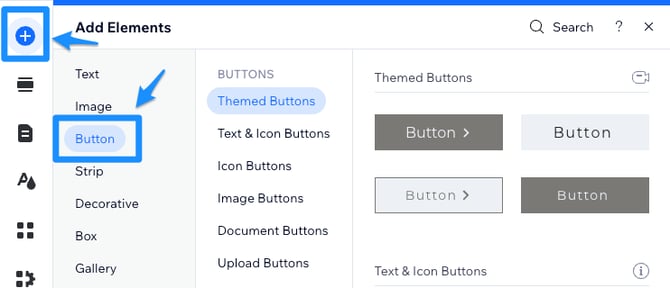
- In the left-hand toolbar, click the + icon.
- Select Button from the list of elements and drag it to where you’d like it to appear on the page.
Get the Xola Booking URL
You’ll now need the unique link for your experience:
-
Back in your Xola account, navigate to Settings > Button Code.
-
In Step 2, choose the checkout type URL.
-
Scroll to Step 3 and find the experience you want to link.
-
Click the
 icon to copy the button URL to add to your site.

This URL will look something like: https://checkout.xola.com/your-experience-link
At this time, Wix’s builder does not support full customization of the Xola embedded checkout. If you try to embed the checkout directly, parts of the booking interface may be cut off or improperly displayed, with no available formatting controls in Wix to correct the sizing or ensure full functionality. For the best customer experience, we recommend using the button and checkout URL approach outlined in this guide.
Link the Button to the Xola Checkout
Now you’ll connect your Wix button to the booking URL:
-
Click the button you placed on your Wix page.
-
In the menu that appears, click the Link icon.
-
On the left, choose Web Address.
-
Paste your Xola checkout URL into the field.
-
Under How does it open?, select Current window.
-
Click Done.

Need more help customizing your Wix buttons? Click here for more Wix button tips.